 Skip to content

Why Properly Crimping Solar Connectors is Crucial: Complete Guide
Proper crimping is critical for ensuring a secure and efficient connection in solar PV systems. Poor crimping can lead to power losses, overheating, and even fire hazards. In this article, we'll explore why crimping is important, the risks of improper techniques, and the correct way to crimp MC4 connectors for maximum performance.
Why Is Proper Crimping1 Essential for Solar Connector Performance?
Crimping is the process of securing a metal contact onto the cable conductor using a crimping tool. When done correctly, crimping:
- Ensures low resistance2 for efficient power transmission.
- Creates a strong mechanical bond3 between the wire and connector.
- Prevents loose connections, which can lead to power loss and overheating.
- Improves weather resistance, reducing the risk of corrosion.
A properly crimped solar connector ensures that the electrical contact remains stable under various environmental conditions, such as temperature fluctuations and mechanical stress.
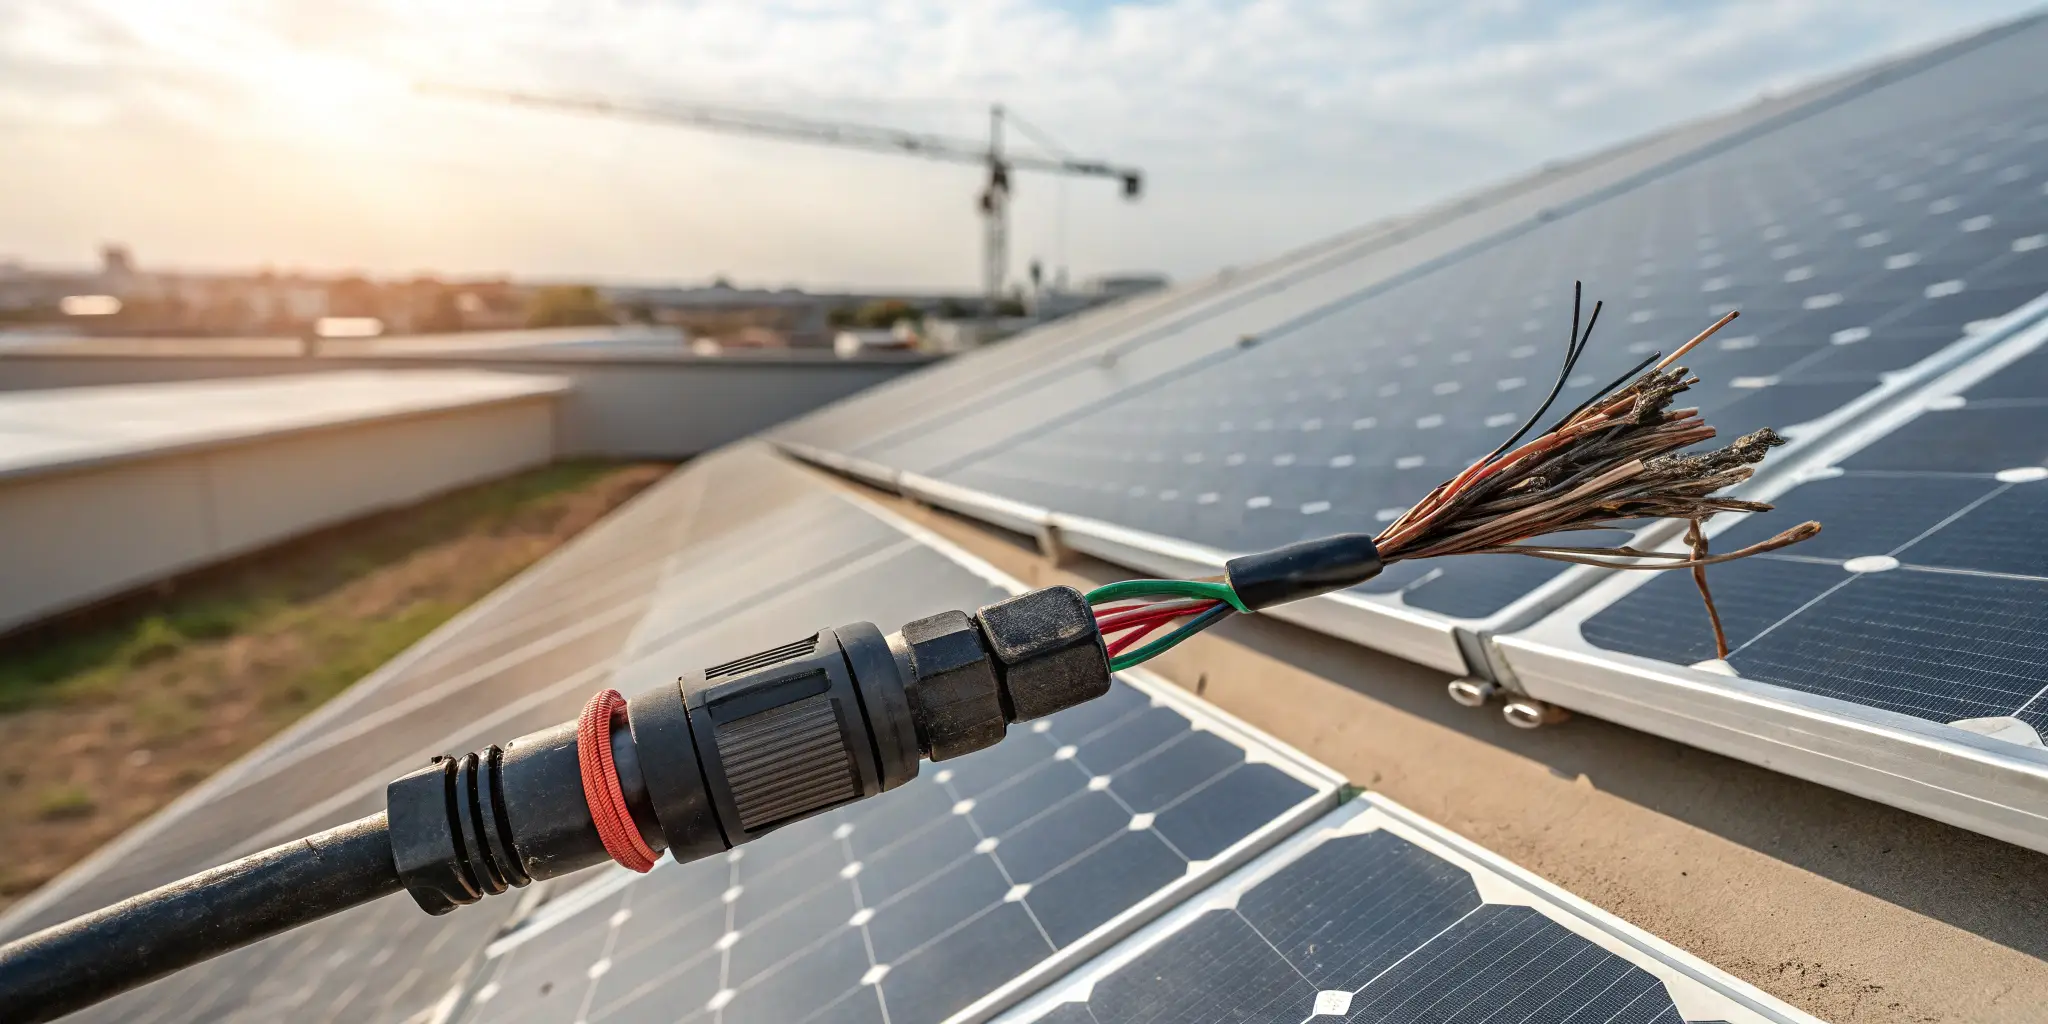
What Are the Risks of Poorly Crimped Solar Connectors?
Improper crimping can have serious consequences on the safety and efficiency4 of a solar system. The most common issues caused by poor crimping5 include:
| Issue | Cause | Potential Consequences |
|---|---|---|
| High Resistance | Weak contact between wire and terminal | Power loss, overheating, and energy inefficiency |
| Loose Connections | Insufficient pressure applied during crimping | Electrical arcing, risk of fire, and intermittent failures |
| Corrosion | Incomplete crimp allows moisture ingress | Oxidation of contact points, leading to degradation |
| Connector Failure | Incorrect crimping tool or technique | Premature failure of solar connectors and system downtime |
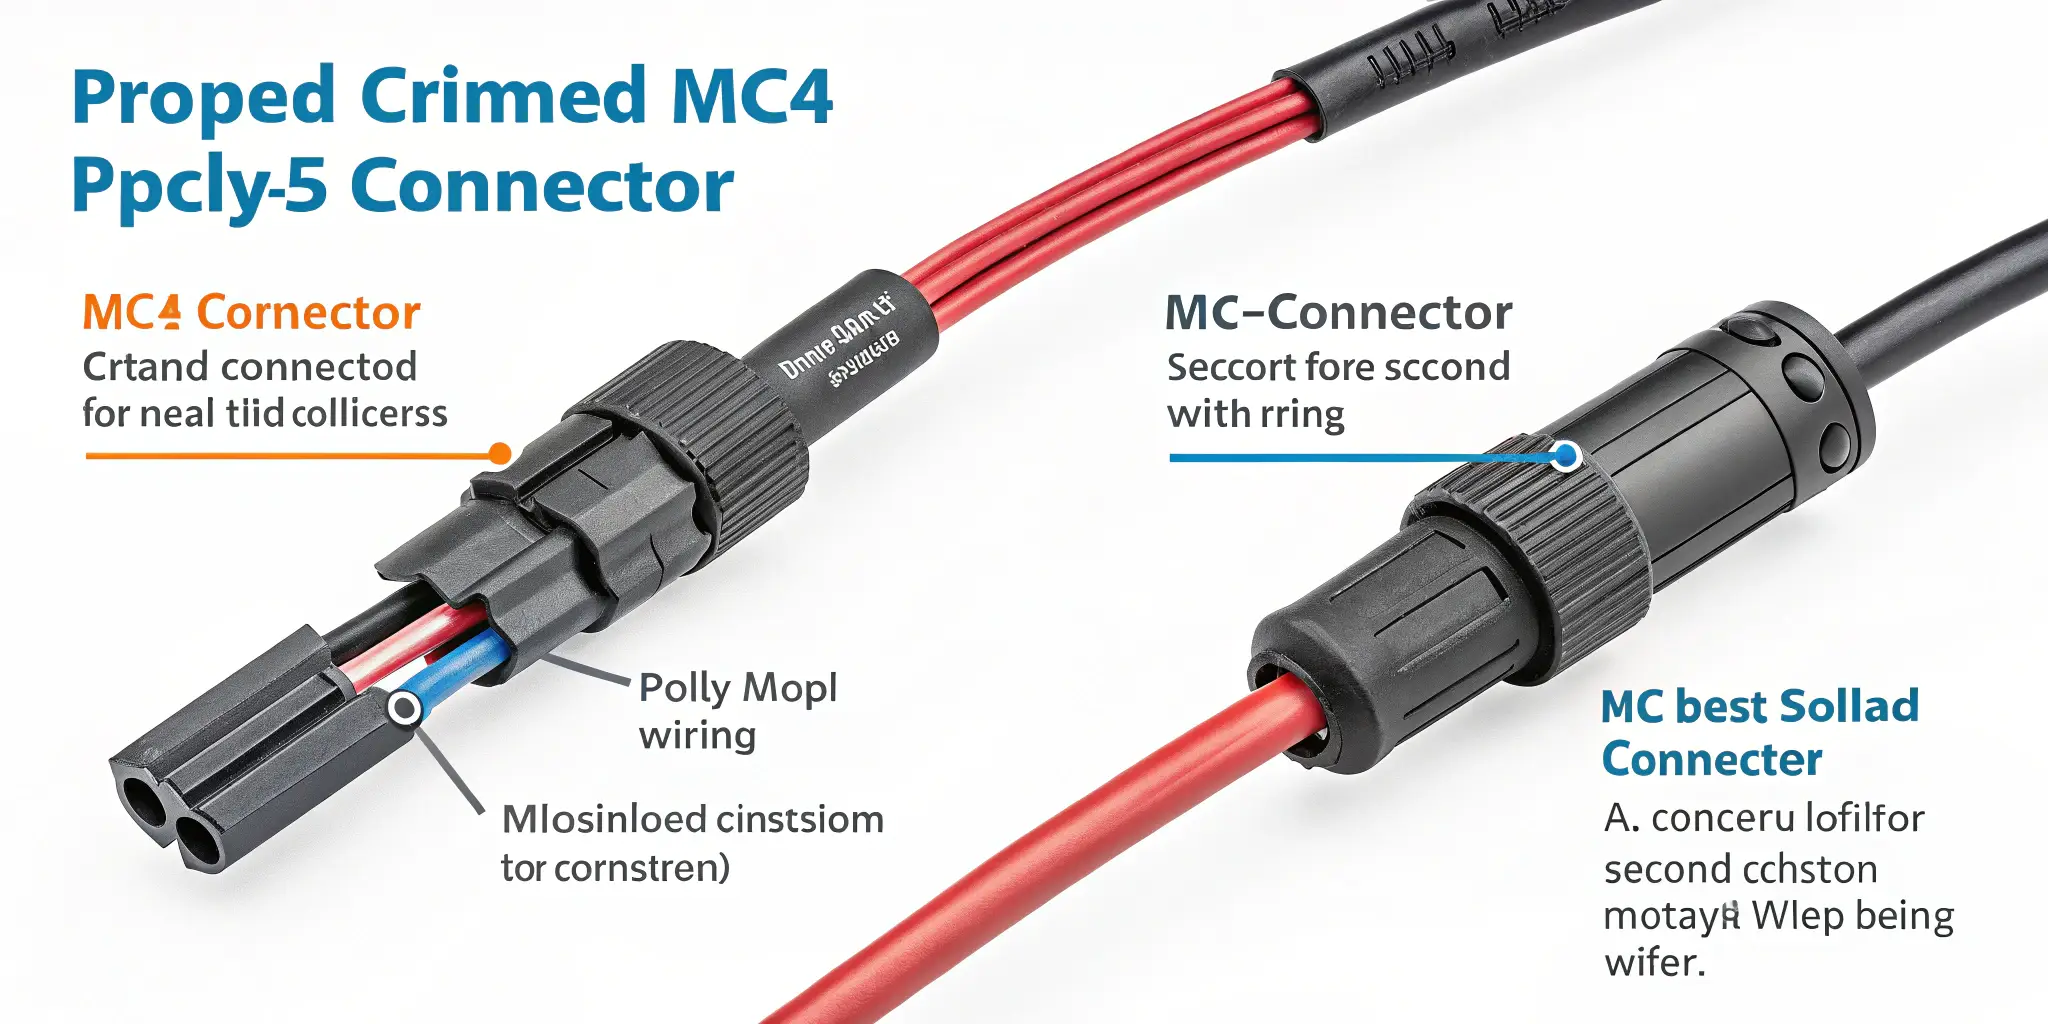
How Do You Properly Crimp an MC4 Connector for Maximum Efficiency?
To achieve a proper crimp6, follow these essential steps:
Step 1: Prepare the Cable
- Select the appropriate solar cable size7 (typically 4mm² (12 AWG) or 6mm² (10 AWG)).
- Strip 5-7mm of insulation from the cable end.
- Ensure the wire strands remain intact and untwisted.
Step 2: Insert the Wire into the Contact Pin
- Insert the stripped end of the wire into the MC4 connector pin until it reaches the end of the metal sleeve.
Step 3: Use a Proper Crimping Tool
- Place the connector pin with the wire into an MC4 crimping tool8.
- Apply even pressure to achieve a firm and symmetrical crimp.
- Avoid using pliers or general-purpose crimping tools, as they may create an incomplete connection.
Step 4: Insert the Crimped Pin into the MC4 Housing
- Push the crimped terminal into the MC4 connector housing until it clicks into place.
- Secure the locking mechanism to prevent accidental disconnection.
Step 5: Test the Connection
- Gently pull the wire to ensure it is firmly crimped.
- Use a multimeter to check for continuity and proper conductivity.
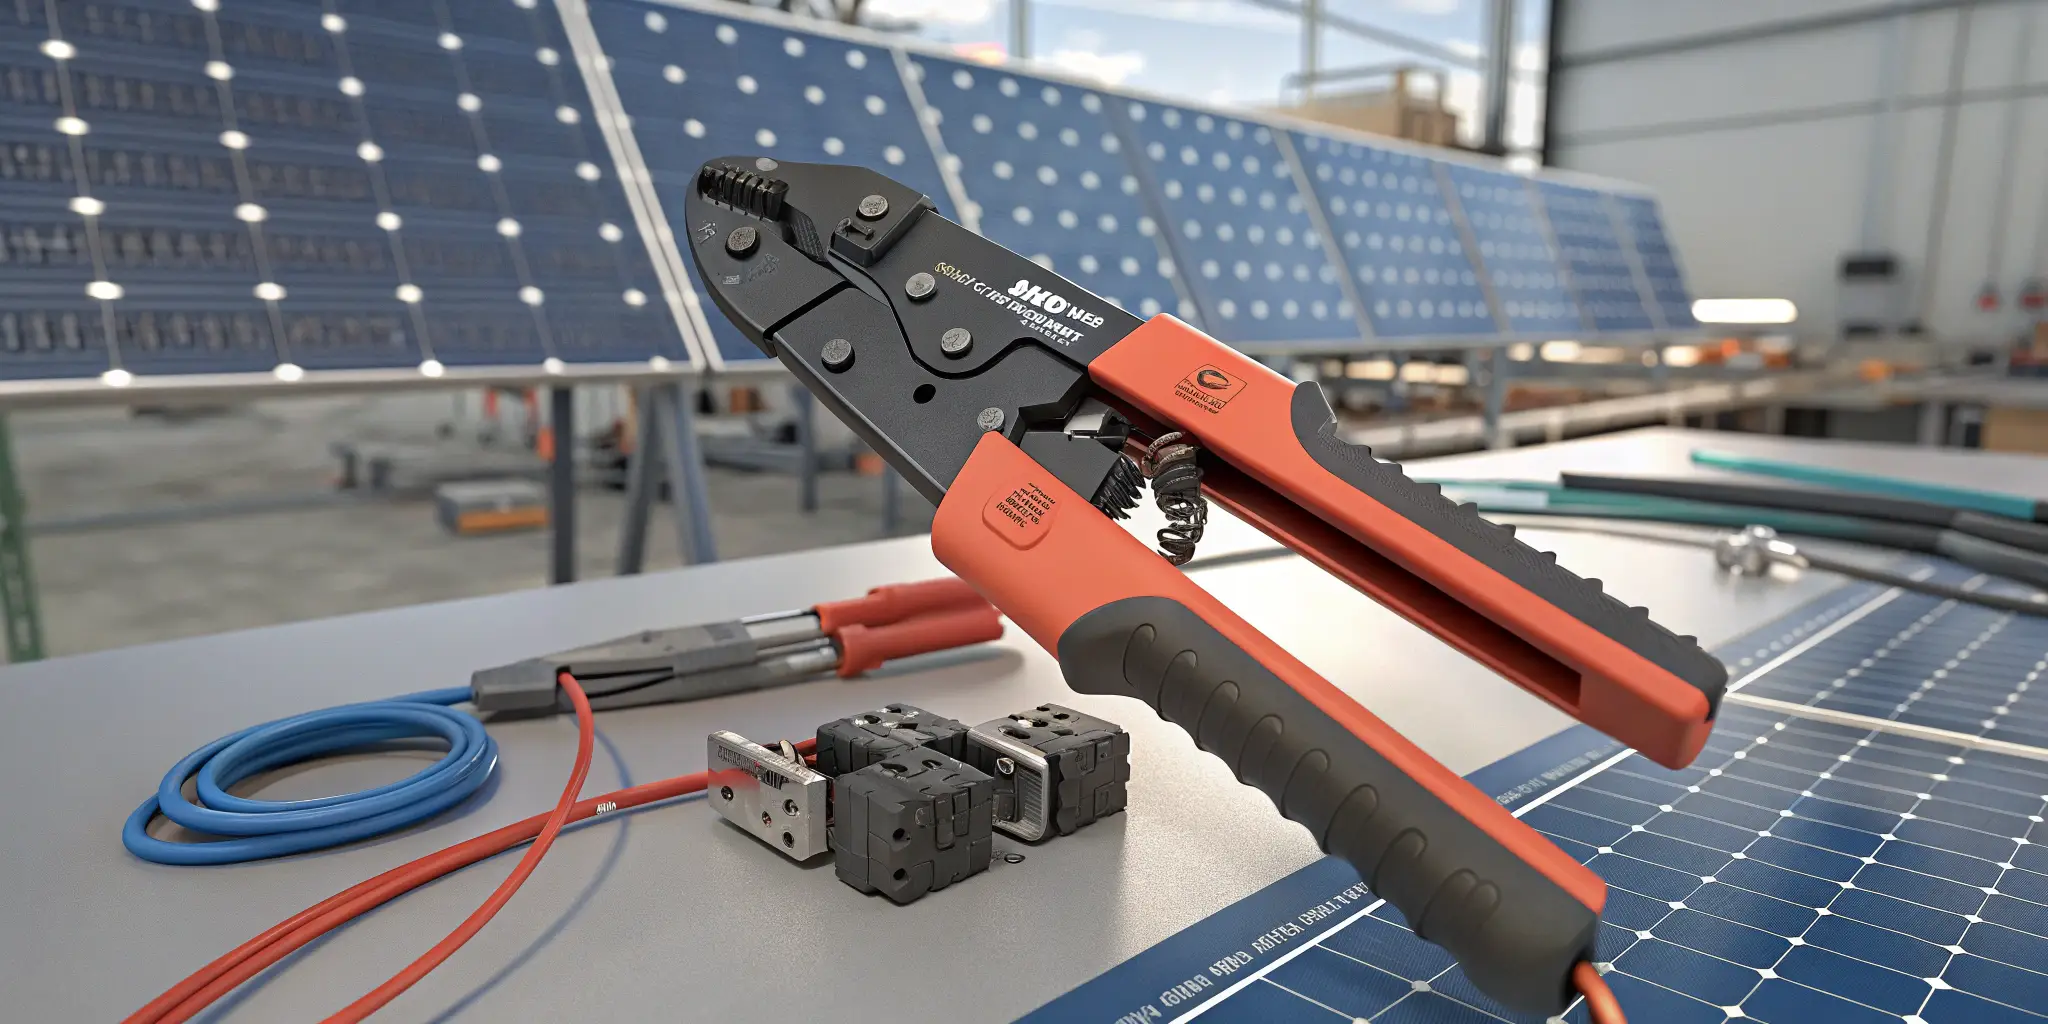
What Tools Are Required for Correctly Crimping Solar Connectors?
Using the right tools is crucial for ensuring a reliable crimp. Essential tools include:
| Tool | Purpose |
|---|---|
| MC4 Crimping Tool | Applies the correct pressure for a strong and secure crimp |
| Wire Stripper9 | Removes insulation without damaging conductor strands |
| Multimeter10 | Tests continuity and resistance after crimping |
| MC4 Assembly Tool | Helps secure MC4 connectors and prevent over-tightening |
Avoid using improvised tools like pliers, as they do not apply uniform pressure and can result in weak connections.
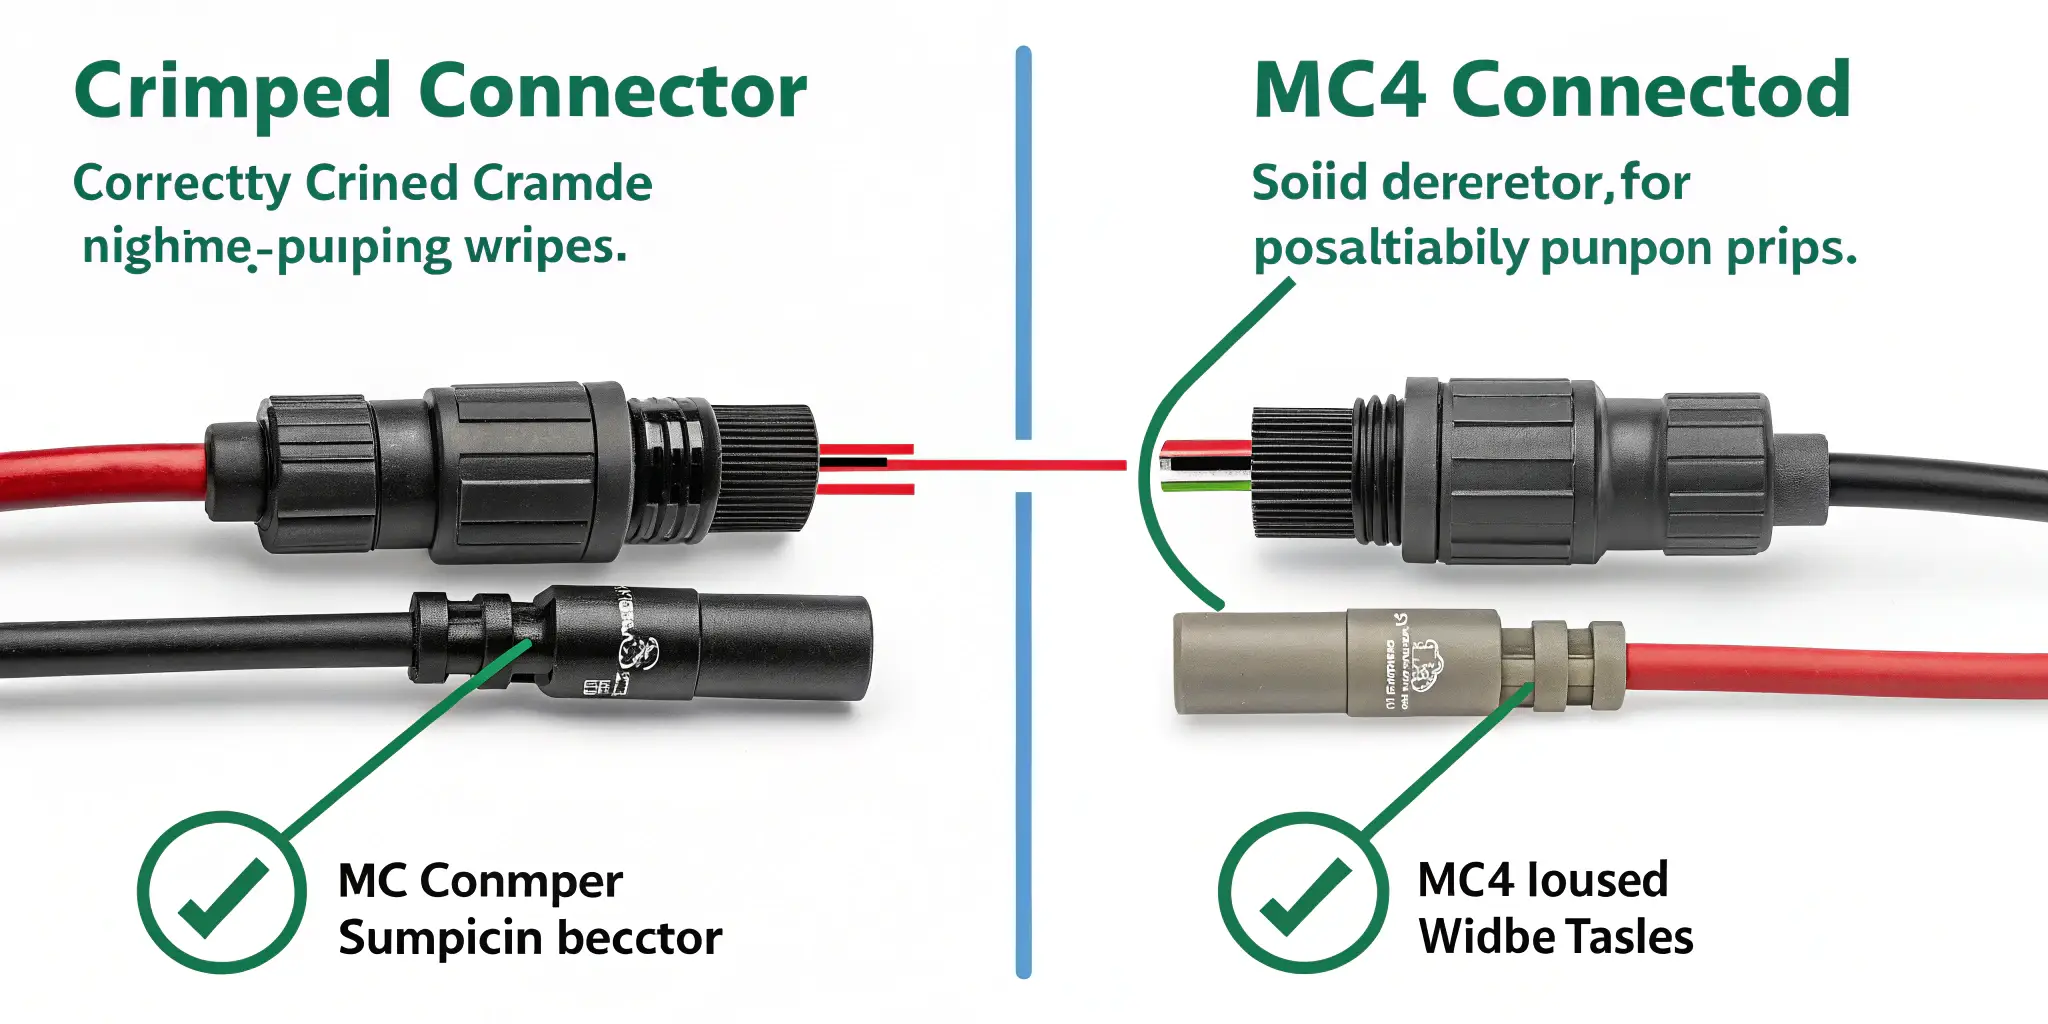
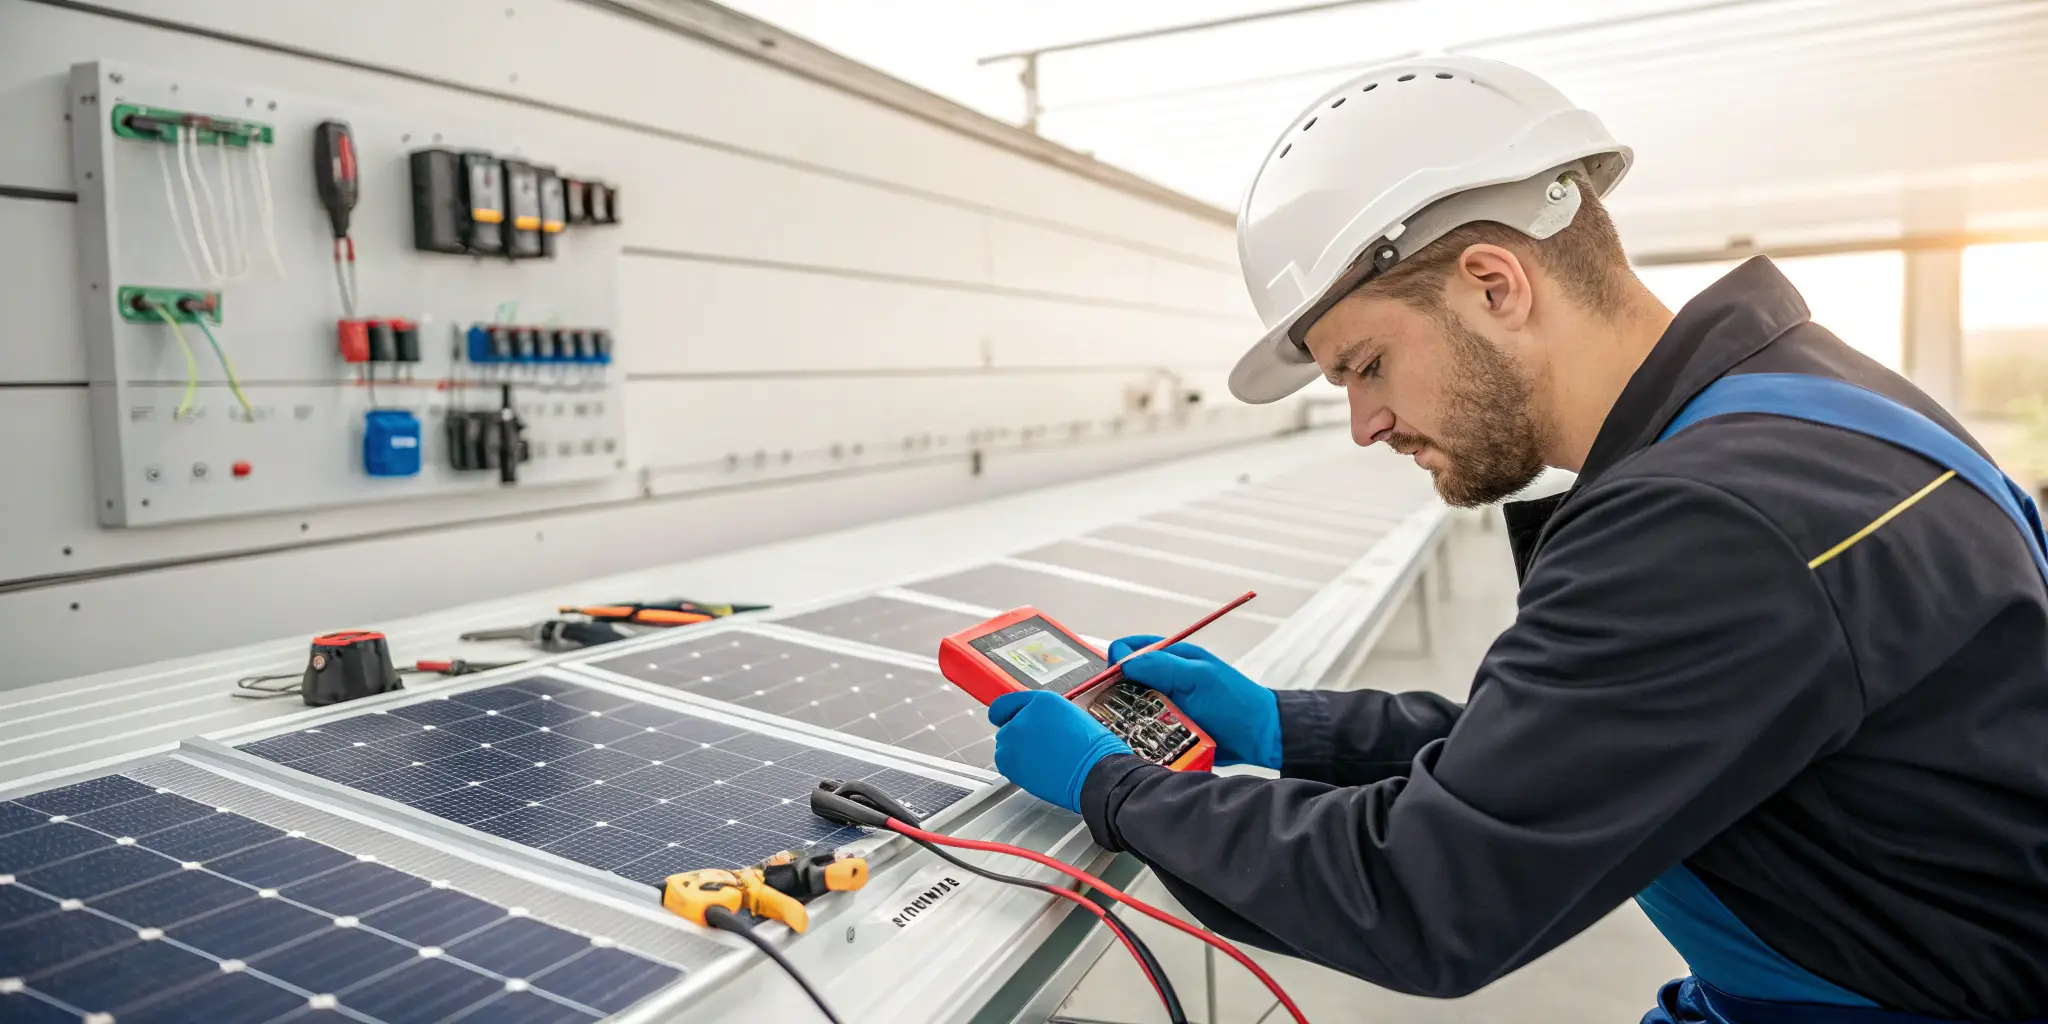
How Can You Test Whether a Solar Connector Has Been Crimped Correctly?
After crimping, it is essential to test the connection11 to ensure it is secure and efficient. Here’s how:
1. Visual Inspection
- The crimp should appear evenly compressed, with no visible gaps.
- The wire should not be protruding from the contact pin.
- The connector pin should be fully inserted into the MC4 housing.
2. Pull Test
- Apply gentle pulling force to ensure the wire does not slip out of the crimped pin.
3. Electrical Continuity Test12
- Use a multimeter to check for continuity between both ends of the connection.
- A good crimp will show low resistance (near 0 ohms).
4. Voltage Drop Test13
- Measure the voltage drop across the connector to ensure minimal energy loss.
- Excessive voltage drop may indicate a poor crimp or faulty connection.
Conclusion
Properly crimping solar connectors is essential for maximizing energy efficiency, safety, and long-term system reliability. By following best practices, using the correct tools, and performing post-crimp testing, you can prevent common failures such as overheating, power loss, and electrical hazards.
Key Takeaways:
✔️ Use high-quality MC4 connectors and proper crimping tools.
✔️ Ensure firm and uniform crimping for strong electrical contact.
✔️ Perform continuity and voltage drop tests to verify connections.
✔️ Avoid using pliers or generic crimping tools, as they cause unreliable crimps.
For premium MC4 connectors and solar accessories, visit Raye Energy and ensure your solar system operates efficiently and safely.
-
Understanding crimping can enhance your knowledge of electrical connections and improve performance in various applications. ↩
-
Exploring low resistance in power transmission can help you optimize solar connector performance and efficiency. ↩
-
Learning about strong mechanical bonds can lead to better reliability and durability in your electrical projects. ↩
-
Understanding the balance between safety and efficiency is crucial for optimizing solar system performance. Explore this link for insights. ↩
-
Learn about the critical issues caused by poor crimping and how to avoid them to ensure your solar system operates effectively. ↩
-
Understanding the best practices for crimping can enhance your skills and ensure reliable connections in solar installations. ↩
-
Knowing the correct cable size is crucial for optimal performance and safety in solar applications. ↩
-
Choosing the right crimping tool can significantly impact the quality of your connections, ensuring durability and efficiency. ↩
-
Learn about the Wire Stripper's role in preparing wires for crimping, ensuring optimal performance in solar setups. ↩
-
Discover how a Multimeter can help ensure your solar connections are reliable and efficient, preventing future issues. ↩
-
Understanding how to test connections can ensure your solar setup is safe and efficient. Explore this resource for detailed guidance. ↩
-
Learn about Electrical Continuity Tests to ensure your solar connectors are functioning properly and safely. This knowledge is crucial for any technician. ↩
-
Performing a Voltage Drop Test is vital for identifying energy loss in your solar system. Discover the best practices for this test. ↩
