

How to Replace a Faulty MC4 Connector in Your Solar System: Step-by-Step Guide
A faulty MC4 connector in your solar system can cause a range of issues, from reduced energy output to system failure. Recognizing when a connector needs replacing and knowing how to do so safely and correctly is essential for maintaining the efficiency of your solar installation.
In this guide, we'll walk you through the steps to replace a faulty MC4 connector, ensuring that your system continues to run smoothly and safely.
What Are the Signs That Indicate a Faulty MC4 Connector Needs Replacing?
Before replacing an MC4 connector, it’s important to recognize the warning signs that indicate it’s time for a replacement. Catching issues early can prevent further damage to the system and improve performance.
Common Signs of a Faulty MC4 Connector:
- Inconsistent Power Generation – If your solar panels are not producing as much power as usual, it could be due to a loose, corroded, or damaged connector that is interrupting the electrical flow.
- Visible Physical Damage – Cracks, discoloration, or burn marks around the MC4 connector indicate that the connector has been exposed to overheating or electric short circuits.
- Frequent System Shutdowns – If your solar system frequently shuts down or is unable to operate at full capacity, it may be due to a faulty connector that is causing electrical disruptions.
- Water Ingress or Corrosion – Any sign of moisture around the connectors, including rust or corrosion, can cause further damage and impact the system’s performance.
- Overheating – A connector that’s excessively hot to the touch may be overloaded, a sign of poor connection or resistance, which could ultimately lead to a failure.

How Do You Safely Disconnect and Remove a Faulty MC4 Connector?
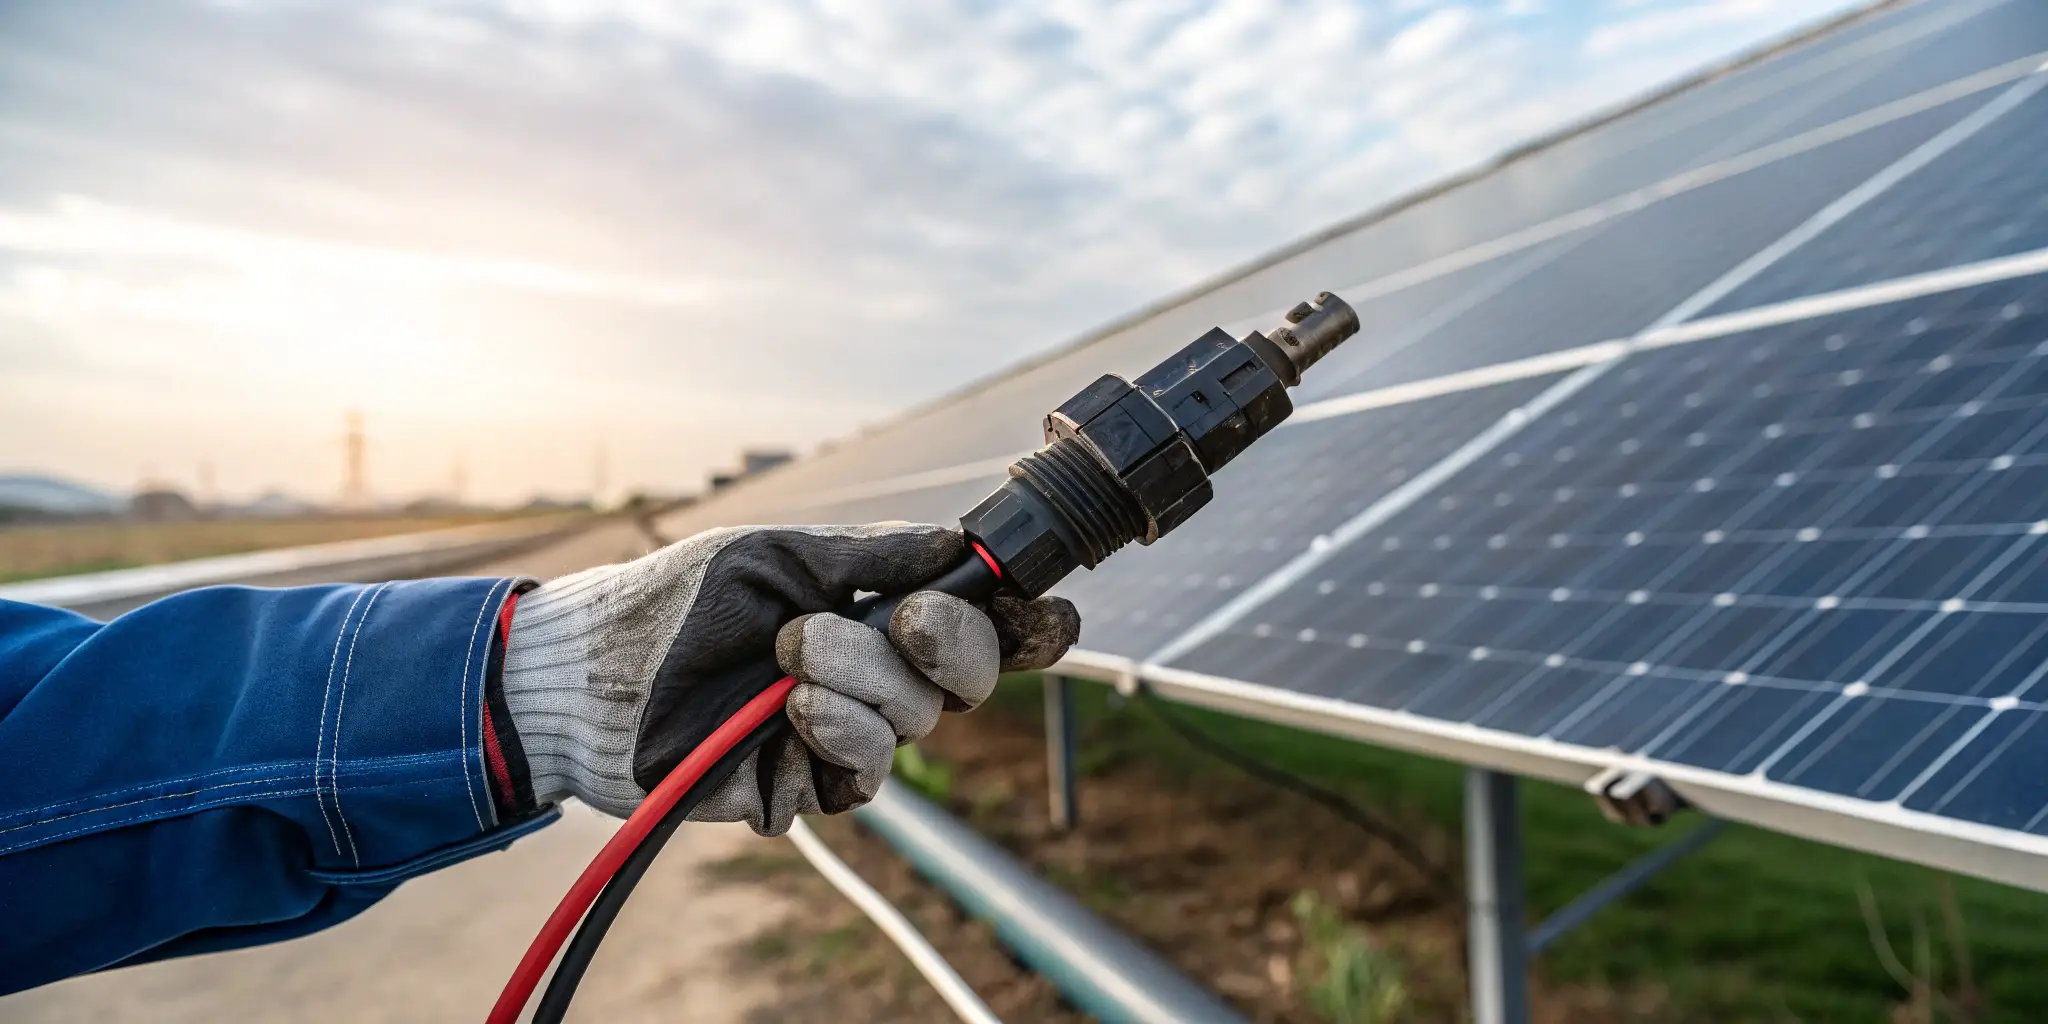
When it’s time to replace a faulty MC4 connector, safety is the top priority. Follow these steps to safely disconnect and remove the connector from your solar system:
Steps to Safely Disconnect and Remove a Faulty MC4 Connector:
- Turn off the System – Always ensure that your solar system is turned off before working with any electrical components to avoid electrical shocks.
- Check for Voltage – Use a voltage tester1 to ensure that the circuit is de-energized and there is no residual voltage in the connectors.
- Disconnect the Cables – Carefully disconnect the cables attached to the faulty connector. It’s important to gently pull apart the connectors to avoid damaging the cables or the surrounding components.
- Use the Proper Tools – Use MC4 disconnection tools2 to remove the connector. These tools are specifically designed to release the locking mechanism without causing damage.
- Remove the Faulty Connector – Once the connector is released, carefully remove it from the wire. You may need to use cutters or pliers3 if the connector is stuck or difficult to remove.
What Tools Are Required for Replacing an MC4 Connector in Solar Systems?
Replacing an MC4 connector requires the right tools to ensure the process is done efficiently and safely. Here's what you'll need:
Essential Tools for Replacing an MC4 Connector:
- MC4 Disconnection Tool – This specialized tool is used to safely disconnect the MC4 connectors without damaging them or the cables.
- Wire Strippers4 – Wire strippers help you strip the insulation from the cable to prepare it for connecting the new MC4 connector.
- Crimping Tool5 – A crimping tool is essential for attaching the new MC4 connector securely to the cable. Ensure you use the correct crimping tool designed for solar connectors.
- Multimeter or Voltage Tester – To ensure the circuit is de-energized and safe to work on.
- Replacement MC4 Connectors – Make sure to use compatible MC4 connectors for your system (ensure proper voltage and current ratings).
- Cutters – If the old connector is stuck, you may need to cut the wires to properly remove it.

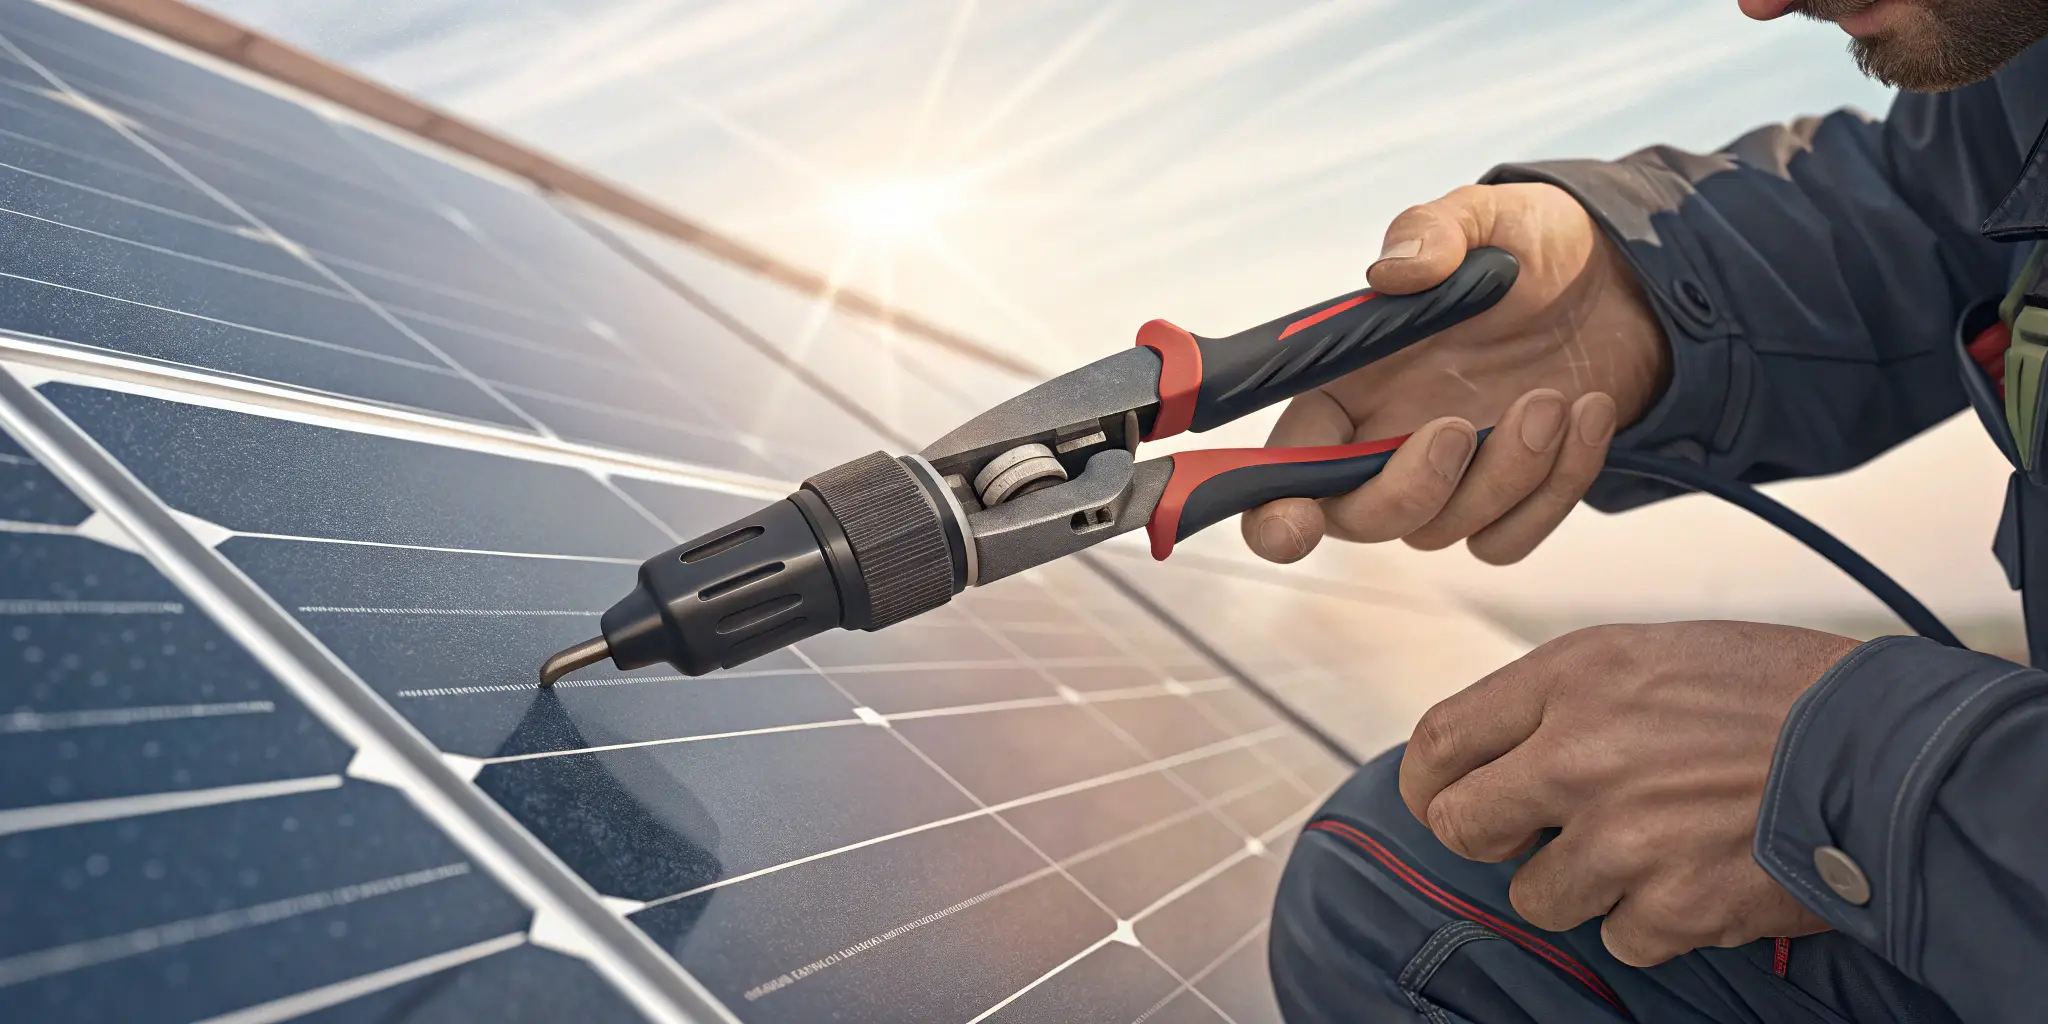
How Do You Ensure Proper Installation of a New MC4 Connector6?
Once you’ve removed the faulty connector, it’s time to install the new one. Proper installation is crucial for the performance and safety of your solar system.
Steps for Properly Installing a New MC4 Connector:
- Prepare the Cable – Use wire strippers to remove the correct amount of insulation from the cable. Be careful not to damage the wire itself.
- Insert the Wire into the Connector – Slide the wire into the connector’s terminal, ensuring it is inserted fully.
- Crimp the Connector – Use a crimping tool to firmly crimp the connector onto the wire. Make sure the crimp is secure and that there is no loose connection.
- Check the Connection – Before sealing the connector, check the crimped connection to ensure that the wire is properly secured and that no wire strands are exposed.
- Lock the Connector – Secure the connector by snapping it into place. The locking mechanism will ensure the connection remains secure during operation.
- Test the System – Once the connector is installed, turn the system back on and check for normal operation. Use a voltage tester to verify the connection is working as expected.
What Are the Common Mistakes to Avoid When Replacing MC4 Connectors?
Replacing an MC4 connector requires precision. Here are some common mistakes to avoid:
Common Mistakes:
- Incorrect Wire Length – Cutting the wire too short or too long can affect the connector’s ability to lock securely and may cause loose connections7 or damaged wires.
- Using the Wrong Tools – Avoid using tools not specifically designed for MC4 connectors, such as regular pliers or scissors. Using the correct MC4 crimping tool ensures a secure connection.
- Improper Crimping – Failing to properly crimp the connector can lead to poor electrical contact, which can affect system efficiency and lead to overheating or fire.
- Over-tightening or Under-tightening – Over-tightening the connector can damage the locking mechanism or cable, while under-tightening can cause the connection to be loose and potentially dangerous.
- Not Testing the Connection – Always test the new connector with a multimeter8 before sealing it completely to make sure everything is functioning properly.
By following these best practices and avoiding these mistakes, you can ensure the proper replacement of your MC4 connectors and keep your solar system running smoothly.

Conclusion
Replacing a faulty MC4 connector in your solar system is a manageable task if approached correctly. By recognizing the signs of failure, using the right tools, and ensuring a proper installation, you can maintain the efficiency and safety of your system. Always take care to avoid common mistakes, and ensure that your new MC4 connectors are installed securely to keep your solar energy system functioning at its best.
Key Takeaways:
- Faulty MC4 connectors should be replaced immediately to avoid system failure.
- Proper installation and regular maintenance are critical for long-term performance.
- Avoid mistakes such as incorrect crimping, improper wire length, and over-tightening during the replacement process.
For expert guidance and high-quality MC4 connectors, visit Raye Energy for reliable solar solutions.
-
Understanding how a voltage tester works is crucial for safely handling electrical components. Explore this link for detailed insights. ↩
-
Learn about MC4 disconnection tools to ensure safe and effective removal of connectors without damage. This resource is invaluable for DIY enthusiasts. ↩
-
Choosing the right tools is essential for safe electrical work. This link provides guidance on selecting the best cutters and pliers for your needs. ↩
-
Learn about Wire Strippers and their role in preparing cables for MC4 connectors, ensuring a secure connection. ↩
-
Discover the best Crimping Tools for solar connectors to ensure a reliable and safe connection in your solar system. ↩
-
Understanding MC4 Connectors is essential for ensuring safe and efficient solar installations. Explore this link for detailed insights. ↩
-
Understanding the causes of loose connections can help you avoid critical mistakes during installation, ensuring safety and efficiency. ↩
-
Learning how to properly use a multimeter can prevent costly mistakes and ensure your connections are safe and effective. ↩