 Skip to content

How can I confirm the correct model and compatibility when importing genuine Stäubli PV connectors from China?
I know it is easy to get confused when choosing the correct MC4 model. A wrong choice can lead to hot spots, failed inspections, or warranty issues.
I confirm the correct connector model by checking system voltage, cable size, part numbers, and datasheets, then I match them with my solar system requirements.
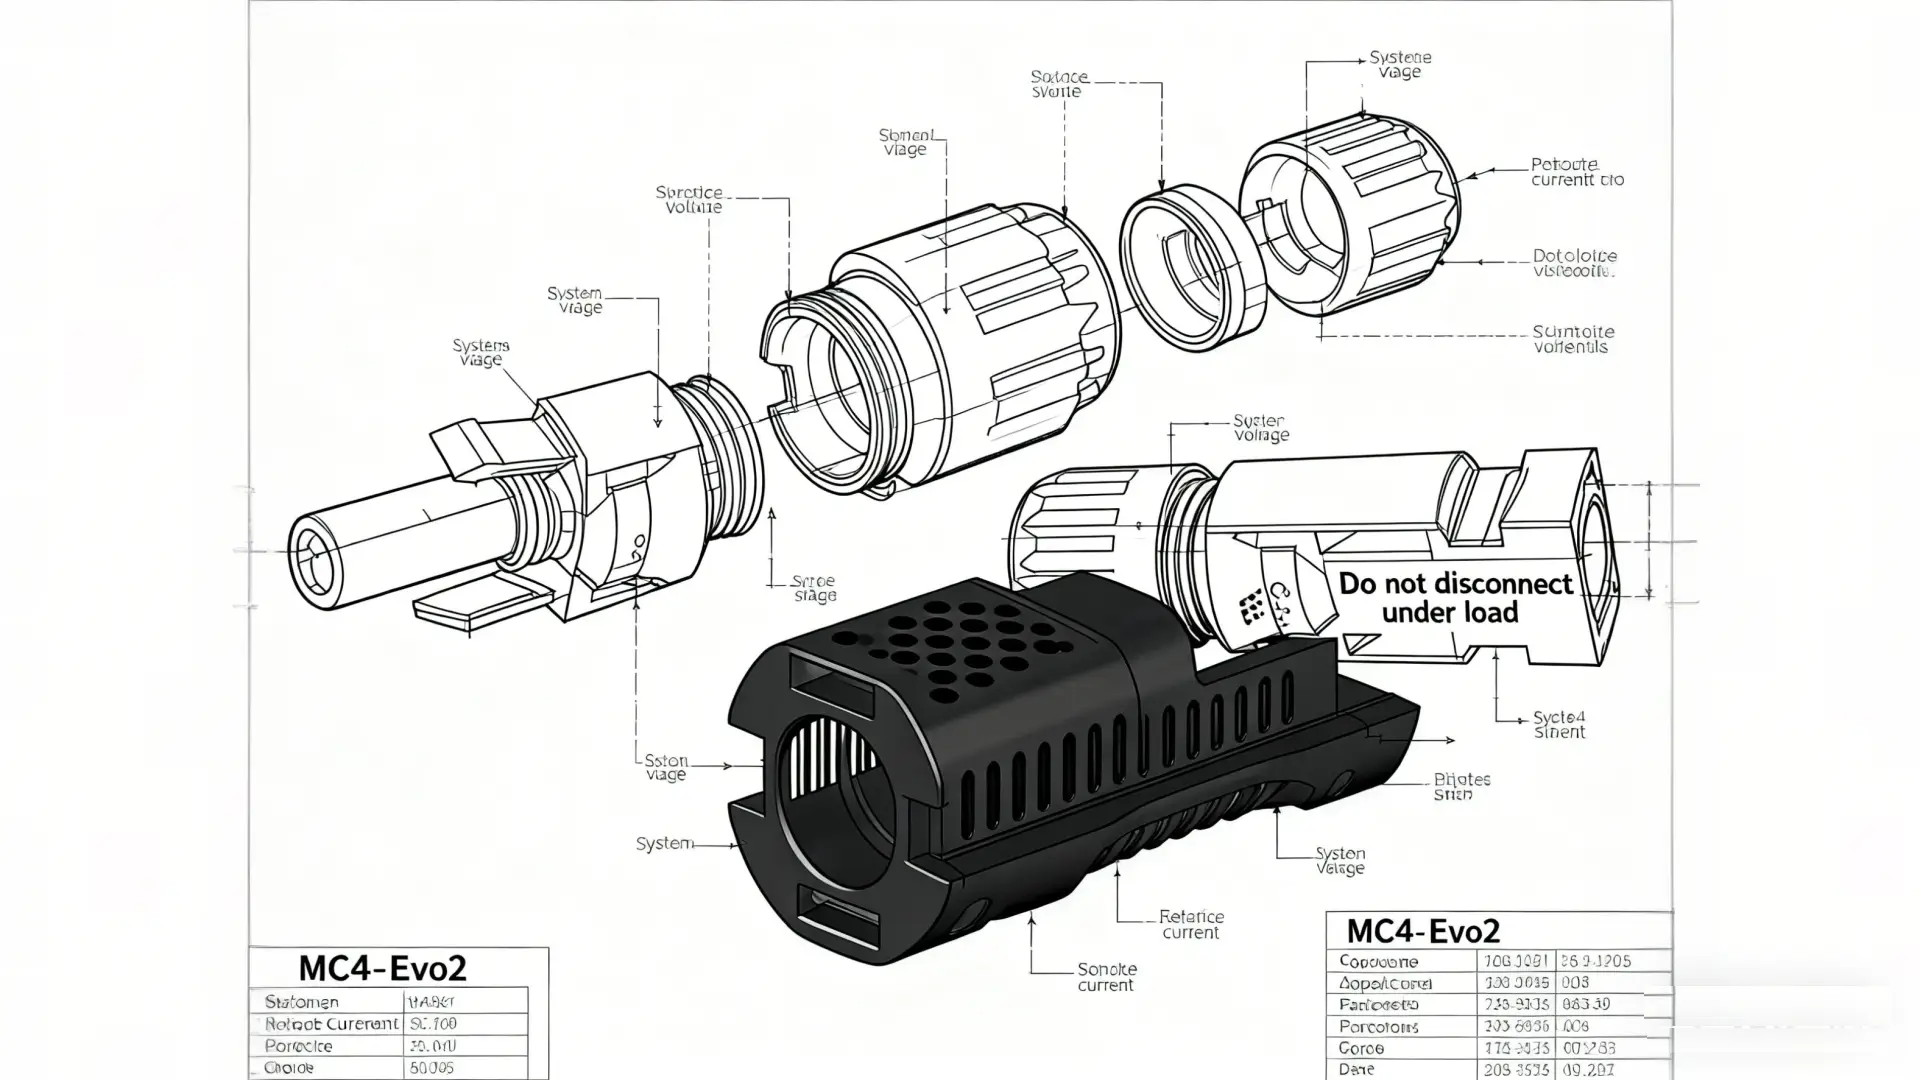
I want to help you avoid costly mistakes. Many installers and importers lose money because they select the wrong connector type. So I will explain how I check compatibility step by step.
How do I match connector models to my existing solar systems?
A mismatch between connector type and system design can cause heating or even system shutdown.
I match connector models by first confirming system voltage1, then checking cable size, current rating, and the exact Stäubli part number2.
Dive deeper: How I verify the correct connector model
Before I select any MC4 connector, I start with the system requirements. This makes everything easier and avoids errors.
1. Confirming the system voltage
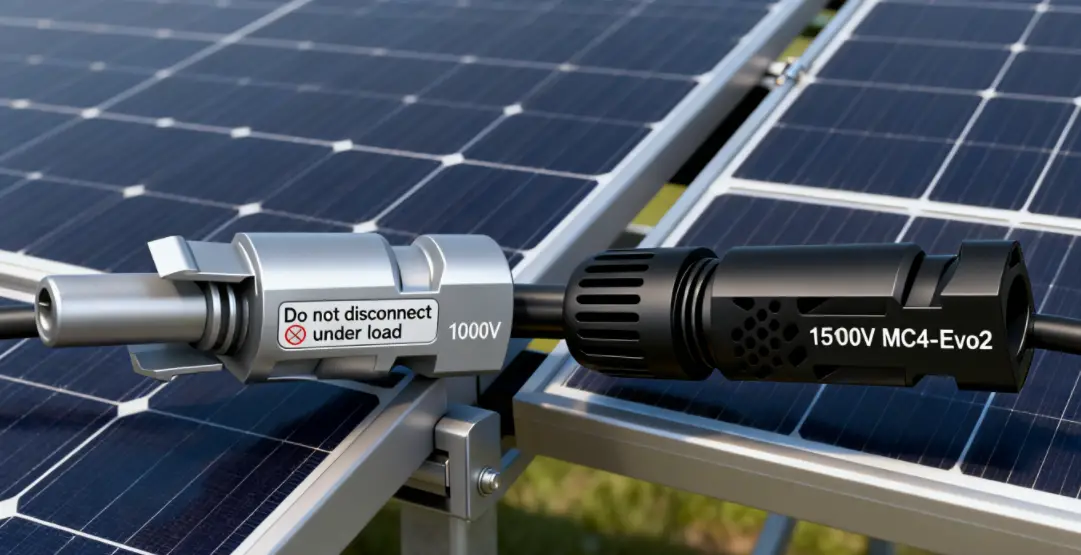
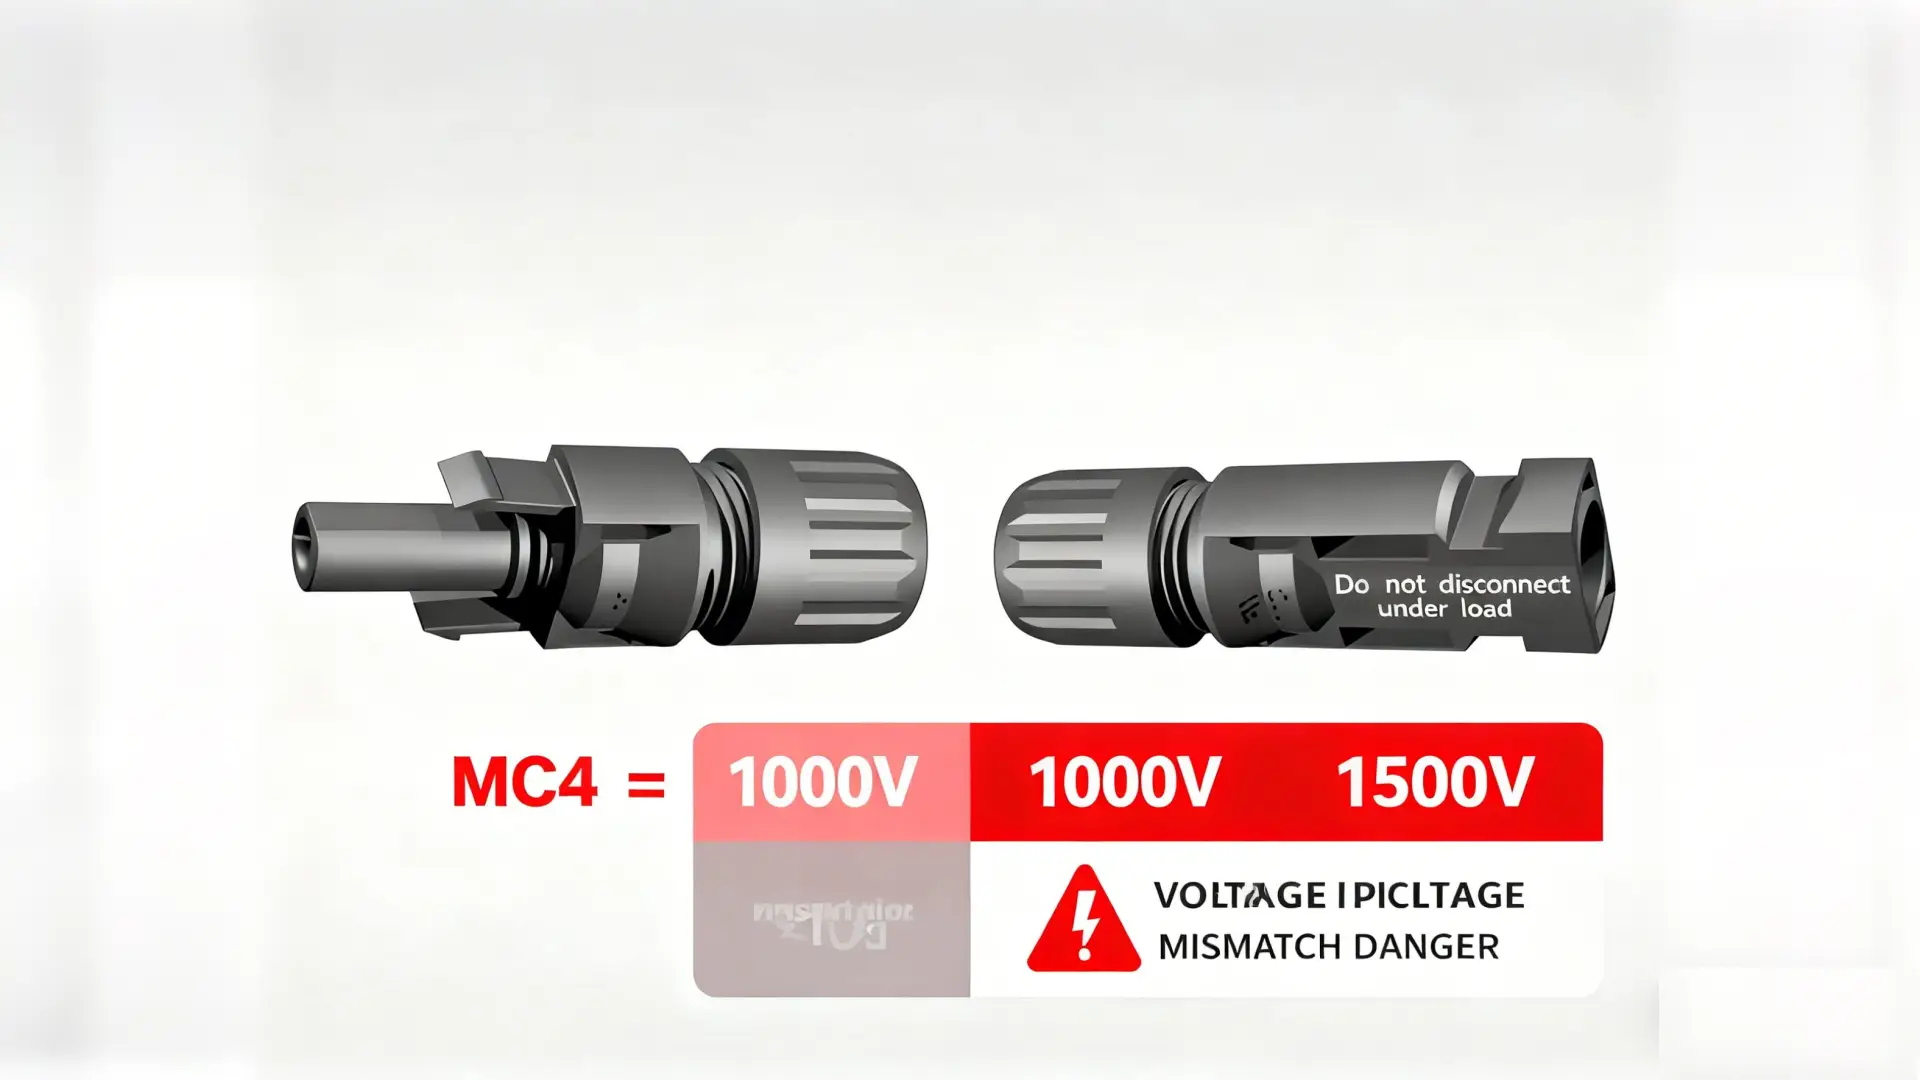
The most important step is voltage. I always check if the solar system runs at 1000V or 1500V.
- MC4 connectors usually support up to 1000V.
- MC4-Evo2 connectors support up to 1500V.
If you pair the wrong connector with a higher voltage system, you risk system failure. I confirm this with the installer before I place any order.
2. Matching cable cross-section3
The connector must fit the cable size. I check the exact diameter:
- 2.5 mm²
- 4 mm²
- 6 mm²
- 10 mm² (for some Evo2 models)
If the cable is too loose or too tight, the crimping will fail. This leads to overheating or arcing. I always ask for the cable datasheet to confirm the conductor diameter and insulation diameter.
3. Using the correct Stäubli part number2
I match the connector using the part number on the official Stäubli datasheet. For example:
- MC4 male plug: PV-KST4
- MC4 female socket: PV-KBT4
- MC4-Evo2 male plug: PV-KST4-EVO2
- MC4-Evo2 female socket: PV-KBT4-EVO2
Even one letter difference means a different product. I always give suppliers the exact part number to avoid wrong shipments.
4. Checking current rating and temperature limits4
I match the connector with the module’s Isc, current rating, and working temperature. Stäubli datasheets include these details clearly.
5. Confirming compatibility between panels, cables, and connectors
I follow this basic rule:
| Requirement | MC4 | MC4-Evo2 |
|---|---|---|
| Max system voltage | 1000V | 1500V |
| Cable size options | 2.5 / 4 / 6 mm² | 4 / 6 / 10 mm² |
| Best use case | Legacy and older systems | New utility-grade systems |
By checking these items early, I avoid any mismatch between connectors and the PV system.
Can I ask suppliers for compatibility charts5 or datasheets6?
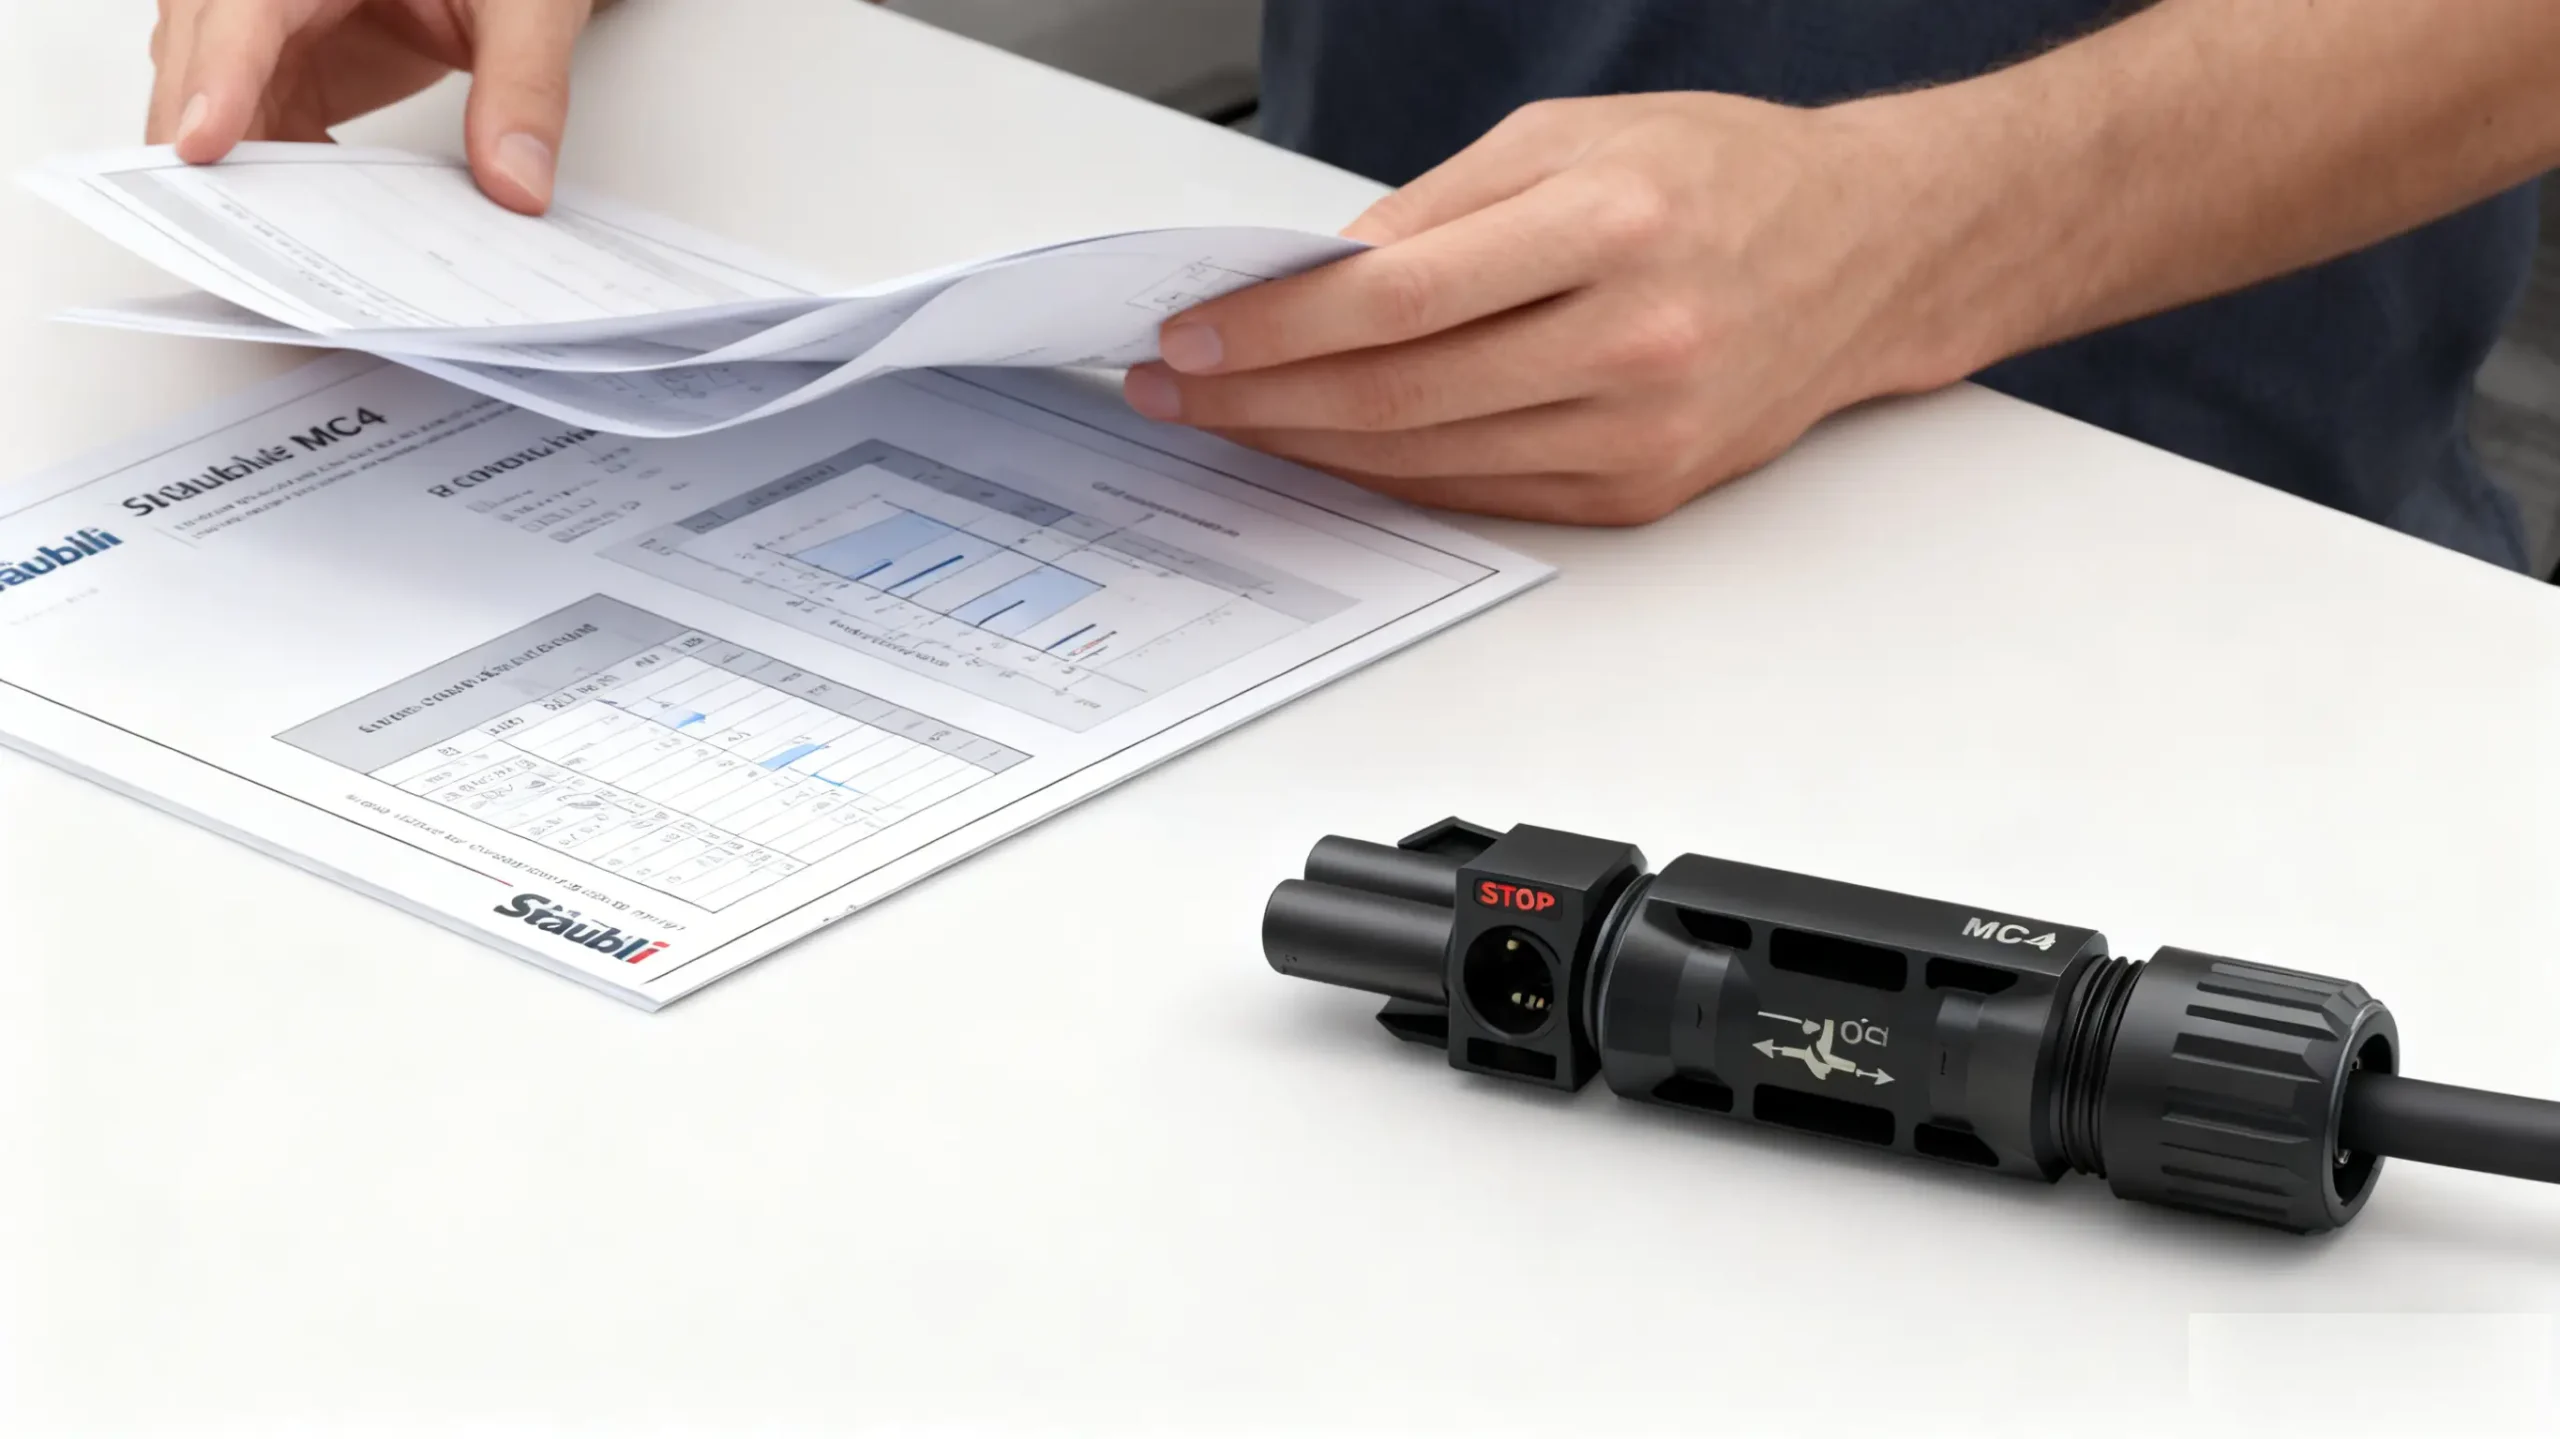
Yes, and I always do. A professional supplier must provide complete documentation.
I request datasheets, compatibility charts1, and part-number lists to confirm connector specifications7 before ordering.
Dive deeper: How I verify compatibility using supplier documents
Suppliers can make mistakes. So I always double-check the documents myself. Here is how I do it.
1. Asking for datasheets
I never purchase connectors without the official Stäubli datasheet. The datasheet confirms:
- Voltage rating
- Cable size range
- Temperature range
- Certification standard
- Mechanical locking method
- Tooling requirements
Even if the supplier sends the wrong item, the datasheet helps me catch it early.
2. Using compatibility charts
Many buyers do not know that Stäubli provides mateability guidance. Genuine MC4 and MC4-Evo2 can intermate only under specific conditions, such as respecting the lower voltage rating.
I ask suppliers to show me these charts. This helps me avoid unsafe combinations.
3. Checking connector housing markings
Genuine Stäubli connectors show:
- Stäubli logo
- Correct series code
- IEC / UL certifications
- Batch number
If markings do not match the datasheet, I reject the batch.
4. Requesting real photos or samples
Before importing large orders, I request:
- Close-up photos of markings
- Photos of the locking system
- Photos of the metal terminal shape
- Photos of the crimp area
This is the easiest way to spot counterfeit connectors8.
5. Verifying the shipping label and packaging
Stäubli packaging includes consistent labels and barcodes. I compare these with the datasheet part numbers.
| Document | Why I need it | What I check |
|---|---|---|
| Datasheet | Confirms specs | Voltage, cable size, approvals |
| Compatibility guide | Confirms mateability | MC4 ↔ MC4-Evo2 limits |
| Photos or samples | Identifies authenticity | Logos, housing shape |
| CoC / Certificates | For customs & warranty | Correct model name |
Because of these checks, I avoid expensive installation mistakes.
What mistakes should I avoid when selecting connector types?
Many importers lose money due to small errors that are easy to avoid.
I avoid mixing brands, guessing cable sizes, choosing the wrong voltage rating, and using the wrong crimping tools.
Dive deeper: Common mistakes and how I avoid them
I have seen many projects fail because of connector mistakes. Here are the major ones.
1. Mixing different connector brands9
Even if the connectors fit together, they are not certified to work together. This can void panel warranties and cause overheating. I always use Stäubli-to-Stäubli only.
2. Using MC4 connectors for a 1500V system
This is very common. If I am not sure of the system voltage, I ask the installer first. Using a lower-rated connector on a higher-voltage array is dangerous.
3. Choosing the wrong cable size10
I always check both:
- Conductor diameter
- Insulation diameter
If the cable is the wrong size, the terminal may not crimp correctly.
4. Ignoring crimping tool compatibility11
MC4 and MC4-Evo2 sometimes require different dies. I check the tooling section on the datasheet before ordering.
5. Buying from suppliers who cannot provide batch traceability12
If they cannot show documents such as:
- Certificate of conformity
- Batch number
- Factory production date
I walk away. It is not worth the risk.
6. Skipping sample verification
A sample test helps me see the real connector structure. I compare it with Stäubli’s official photos.
| Common mistake | Result | How I avoid it |
|---|---|---|
| Mixing brands | Heating, fire risk | Only Stäubli-to-Stäubli |
| Wrong voltage rating | System failure | Confirm with installer |
| Wrong cable size | Loose or bad crimp | Check diameter carefully |
| Wrong crimp tools | High resistance | Match tools to model |
| No documentation | Warranty issues | Request full files |
These mistakes are simple to avoid, but very costly if ignored.
How can I ensure connectors fit with cables and inverters properly?
A connector must match the full system: cable, inverter, and panel.
I confirm fitment by checking cable size, inverter input specs, connector part numbers, and certification requirements for my local market.
Dive deeper: How I verify full mechanical and electrical compatibility
I follow a structured method when confirming connector fitment.
1. Checking the inverter input requirements
I read the inverter manual. It always specifies:
- Acceptable connector types
- Voltage limits
- Current limits
- Cable size range
If the inverter states “use MC4-compatible connectors13,” I still use genuine Stäubli because it avoids warranty issues.
2. Matching cable diameter and insulation thickness
MC4 and MC4-Evo2 have different acceptable insulation diameters. If the cable does not match, it will fail the pull-out test.
I measure:
- Conductor cross-section
- Outer diameter
Then I match them with the datasheet table.
3. Checking the terminal crimp barrel size14
Some installers try to crimp a 4 mm² terminal onto a 6 mm² cable. This weakens the connection and causes resistance. I always use the exact size terminal for the cable.
4. Confirming mechanical lock and sealing
I check:
- IP67 or IP68 ratings15
- Locking clip strength
- Seal ring condition
Any damage or mismatch means water will enter the connector.
5. Verifying system certification requirements
In markets like Australia, connectors must be:
- Same manufacturer
- Same model
- Approved under IEC 62852 or UL 670316
I confirm these before importing.
| Component | What I check | Why |
|---|---|---|
| Inverter | Input voltage, connector type | Avoid mismatch |
| Cable | Cross-section, outer diameter | Correct crimp |
| Connector | Part number, voltage rating | Safe installation |
| Tools | Stäubli-approved dies | Reliable crimp |
| Certification | IEC / UL | Pass inspections |
This method helps me avoid installation problems and improves long-term system reliability.
Conclusion
I confirm connector compatibility by matching voltage, cable size, part numbers, datasheets, and certification rules, making sure the connectors fit safely across the whole system.
-
Understanding system voltage is crucial for selecting the right connectors, ensuring safety and efficiency in solar installations. ↩ ↩
-
Using the exact Stäubli part number avoids shipment errors and ensures compatibility with your solar system. ↩ ↩
-
Choosing the right cable cross-section prevents overheating and ensures reliable connections in solar systems. ↩
-
Understanding current ratings and temperature limits is essential for safe and efficient solar system performance. ↩
-
This link will provide insights into how compatibility charts can prevent unsafe combinations and ensure proper intermateability. ↩
-
Exploring this resource will help you understand the importance of datasheets in ensuring product specifications and quality. ↩
-
Understanding connector specifications is crucial for making informed purchasing decisions and avoiding costly mistakes. ↩
-
This resource will guide you on recognizing counterfeit connectors, ensuring you receive authentic products. ↩
-
Understanding the risks of mixing brands can help you avoid warranty voids and overheating issues. ↩
-
Choosing the correct cable size is crucial for safety and performance; explore this link for detailed guidance. ↩
-
Learn why using the right crimping tools is essential for ensuring reliable connections and preventing failures. ↩
-
Discover the importance of batch traceability to ensure quality and compliance in your connector purchases. ↩
-
Understanding MC4-compatible connectors ensures you select the right components for your solar system, enhancing safety and efficiency. ↩
-
Learning about terminal crimp barrel sizes is crucial for making secure connections, preventing resistance and potential failures. ↩
-
Exploring IP ratings helps you choose connectors that withstand environmental conditions, ensuring durability and reliability. ↩
-
Familiarizing yourself with these standards ensures compliance and safety in your installations, protecting your investment. ↩
